Sanding Techniques That Actually Work
Learn the right grit progression, pressure control, and grain direction. Skip the mistakes most beginners make with their first piece.
Why Sanding Matters
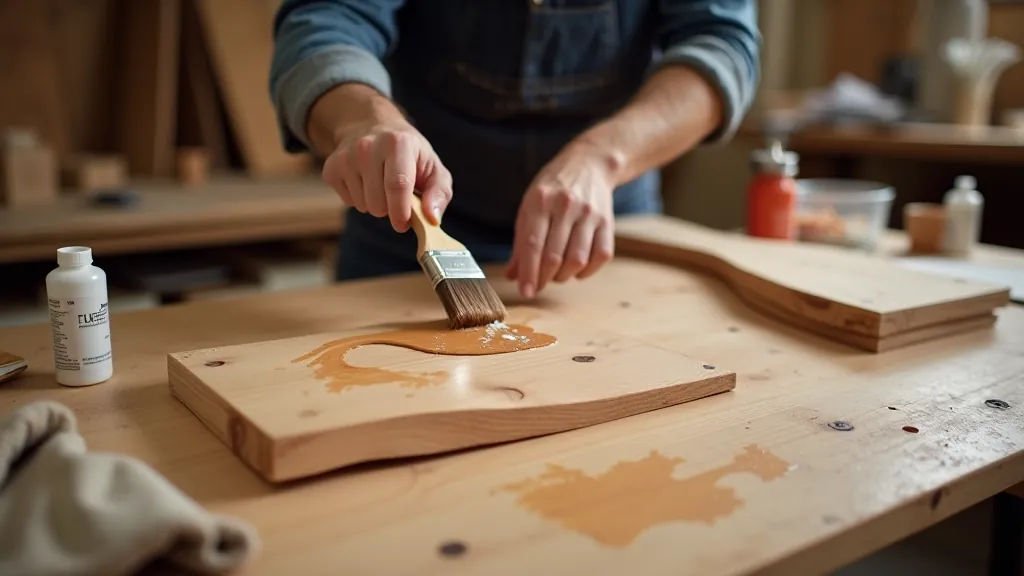
You can have the most beautiful finish waiting for you, but if the surface underneath isn't prepared properly, you're wasting time and money. That's why sanding is the foundation of any serious restoration project. Most beginners rush through it or skip steps entirely. We don't. We've learned the hard way — and now we'll teach you what actually works.
The difference between a mediocre restoration and a showstopping piece often comes down to three things: the right grits, consistent pressure, and understanding wood grain. This guide covers all of it. You'll see why technique matters more than having expensive tools, and how to avoid the common mistakes that leave surfaces looking patchy or uneven.
The Grit Progression System
There's a reason professionals don't jump straight from 60-grit to 220-grit. Each grit level removes scratches from the previous one while creating new, finer scratches. Skip a step, and you'll see the coarser scratches ghost through your finish.
Here's the progression we use on most Soviet-era furniture:
- 60–80 grit: Heavy material removal. Use this if there's old finish, stains, or deep scratches. It's aggressive — don't linger too long on one spot.
- 120 grit: The middle ground. Removes the scratches from the coarser grits. This is where patience starts mattering.
- 150–180 grit: Fine sanding. Your wood's starting to look smooth now. This grit catches what 120 missed.
- 220+ grit: Final prep before stain or finish. We usually stop at 220 unless the wood is going natural — then we might go to 280.
The real secret? Don't skip 120 grit. Most people want to jump from 80 to 180, thinking they'll save time. They don't. They end up with visible scratches and wasted sandpaper.
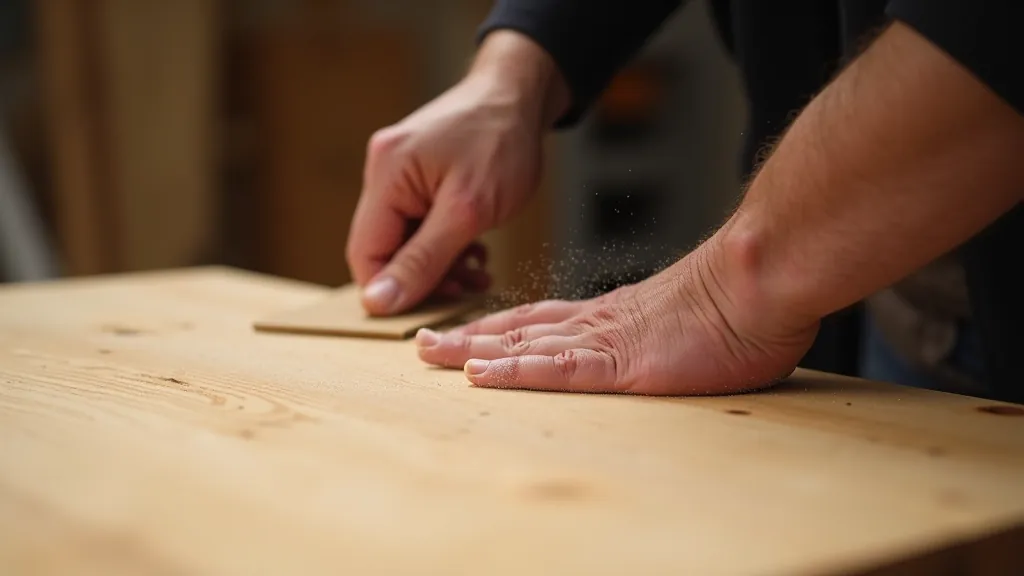
Pressure Control Separates Amateurs from Professionals
Too much pressure and you'll gouge the wood or create uneven surfaces. Too little and you're just wasting time. The trick is using light, consistent pressure — especially with 150+ grits.
Think of it this way: let the sandpaper do the work. Your job is just to guide it smoothly. We use a simple test — if you're pressing hard enough that your hand gets tired quickly, you're pressing too hard. The whole piece should take 20–30 minutes depending on size, not an exhausting hour.
Pro tip: With orbital sanders, keep it moving constantly. With hand sanding, work in the direction of the grain using long, smooth strokes. Never sand in circles — that creates cross-grain scratches you'll regret later.
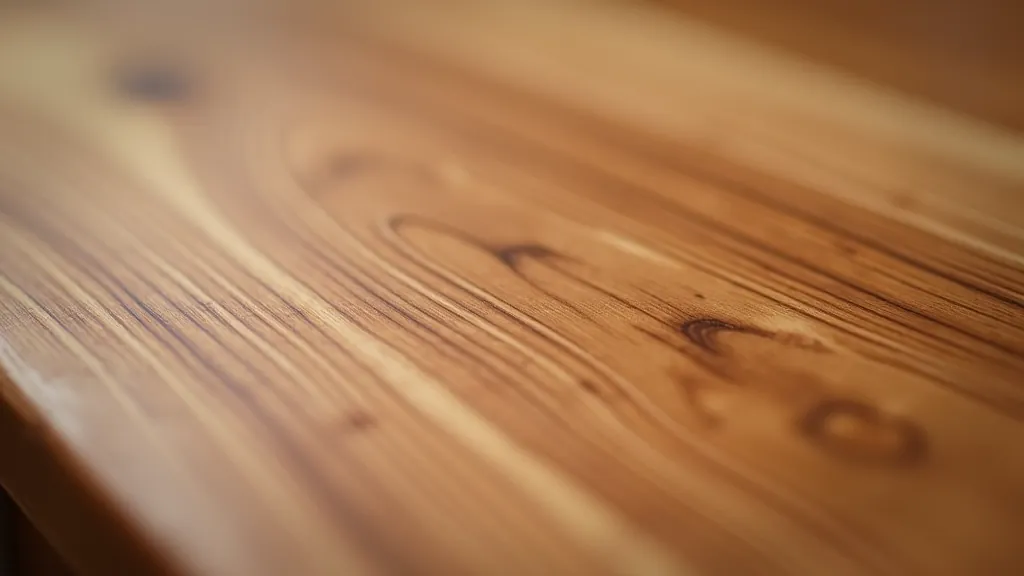
Understanding Wood Grain Direction
Grain Raises When Wet
After staining or applying water-based finishes, wood grain lifts slightly. Sand lightly with 220+ grit between coats to smooth it back down. It's a step many skip, but it's why professional finishes feel smooth.
Always Sand With Grain
Cross-grain sanding creates scratches that catch light and show through finishes. Run your hand across the wood — feel which direction is smooth? That's your grain direction. Sand that way every time.
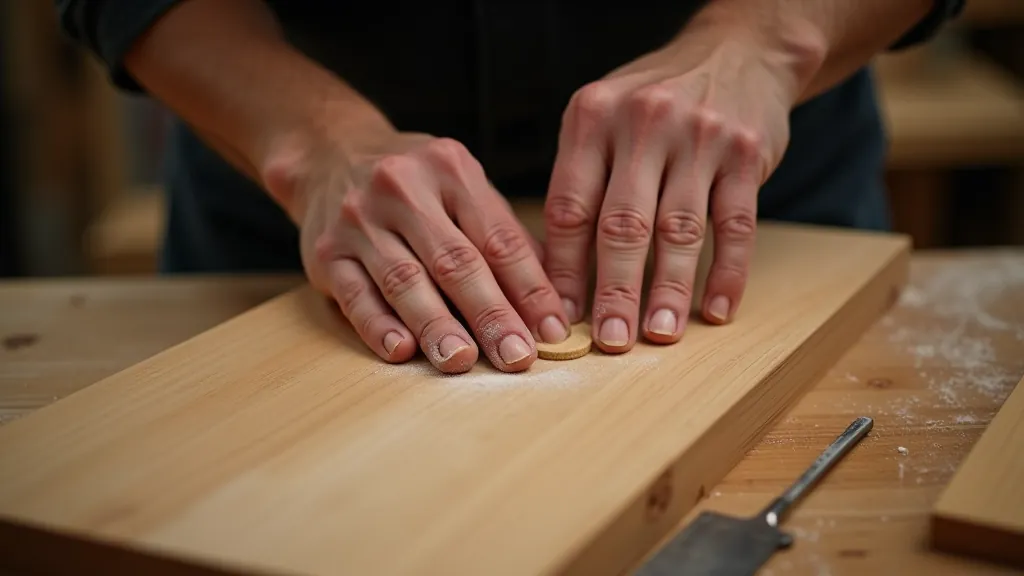
Edges Need Extra Attention
Edges are where most beginners mess up. They sand too aggressively and round them off unintentionally. Use lighter pressure on edges, and stop before you change the profile of the piece.
Tools You Actually Need (Not More Than That)
You don't need an expensive arsenal. Here's what we use on nearly every project:
Orbital Sander (5-inch)
For large flat surfaces. Reliable, affordable, and way faster than hand sanding. We've used the same Makita for three years.
Hand Block (Wood)
Edges, curves, corners. A simple wood block wrapped in sandpaper. Costs nothing, essential for every piece.
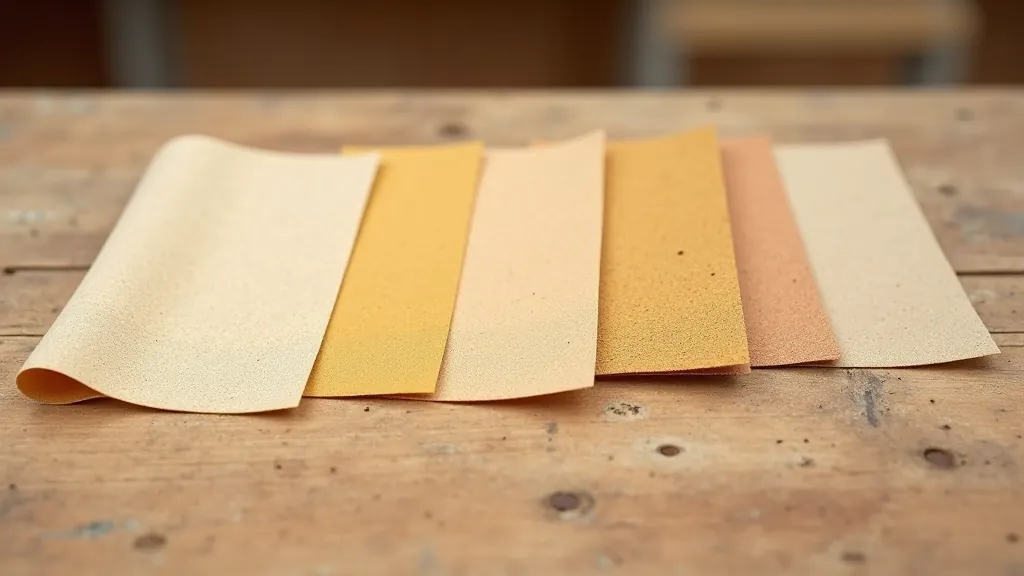
Quality Sandpaper Assortment
Buy good paper. Cheap sandpaper loads up (fills with dust) quickly and wastes time. A 60, 120, 180, and 220 grit will cover 95% of your projects.
Dust Collection or Mask
Dust is bad for you and for your finish. A shop vac attached to your sander makes cleanup easier and keeps you healthier.
Mistakes We See All the Time (And How to Avoid Them)
Sanding in Circles
It's instinctive, but it creates scratches across the grain. Use straight strokes following grain direction, or use an orbital sander that handles it for you.
Stopping Too Early
You'll see scratches from coarser grits if you don't fully sand them out. Each grit should remove all visible scratches from the previous one before moving on.
Using Old, Dull Sandpaper
Worn-out paper just burnishes the wood instead of cutting it. It's tempting to stretch its life, but fresh paper is faster and better. Replace it when it stops cutting efficiently.
Aggressive Sanding on Edges
The goal is smooth surfaces, not rounded-off edges. Ease up on corners and edges, especially with coarser grits. You can always sand more later.
Your Path Forward
Sanding isn't glamorous. It's dusty, repetitive, and honestly kind of boring. But it's the difference between a restoration that looks homemade and one that looks professionally done. You'll see the difference the moment you apply your first coat of stain or finish — smooth surfaces just look better.
Start with a piece you're not too precious about. Practice the grit progression, feel the pressure you need, and get comfortable with grain direction. After three or four pieces, it becomes automatic. By then, you'll understand why professionals spend time on this step instead of rushing through it.
And if you're hunting for pieces to practice on, the flea markets around Rīga are full of Soviet-era furniture just waiting for someone to give it proper attention. You've got this.
Information Disclaimer
This article is provided for educational and informational purposes only. It represents general guidance based on traditional furniture restoration practices. Circumstances vary depending on wood type, finish condition, tools available, and individual experience levels. Always wear appropriate safety equipment including dust masks and eye protection. If you're working with antique pieces or those with lead paint, consult specialized resources or professionals before sanding. The techniques described work well for most restoration projects, but individual results may vary.