Stains, Oils, and Finishing Products Explained
What's the difference between Danish oil and polyurethane? When should you stain versus seal? We break down the options and when to use each one.
Why Finishes Matter More Than You Think
The finish you choose makes or breaks a restoration project. It's not just about looks — it's about protection, durability, and how the wood will age over the next decade. You could spend weeks sanding and preparing a beautiful piece, but pick the wrong product and you'll be refinishing it again in two years.
Here's what we're covering: the actual differences between stains and finishes, which products work best for different wood types, application techniques that don't require professional equipment, and how to avoid the most common mistakes that ruin otherwise great restoration work.
Key Concept
Stain and finish aren't the same thing. Stain colors the wood. Finish protects it. You'll usually use both — stain first, then a protective finish on top.
Understanding Stains: Color Without Protection
Stains do one thing: they add color to wood. They don't protect it. That's where people get confused — they think a stain is a finish, then wonder why their piece gets damaged in six months.
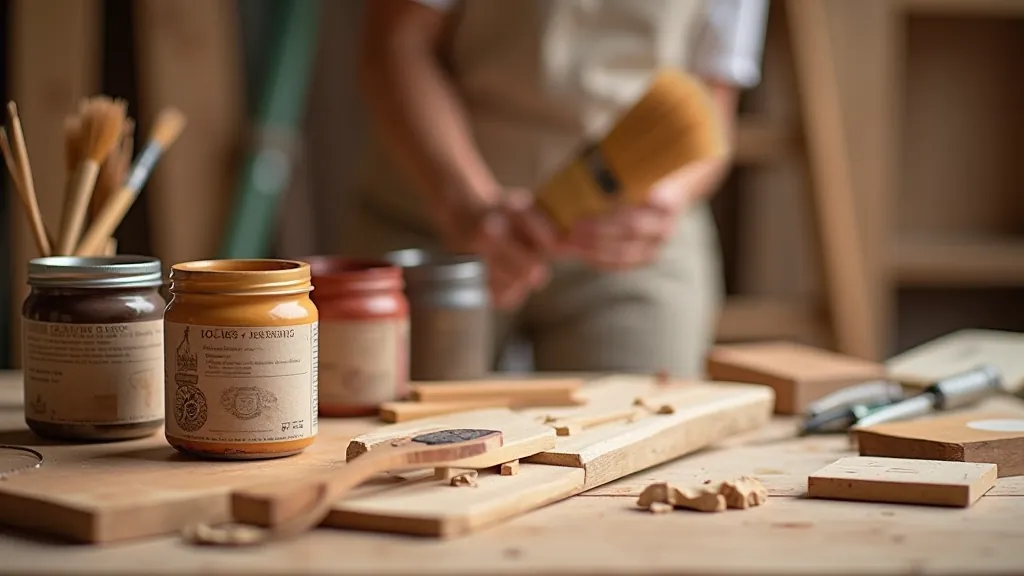
There are three main types: water-based, oil-based, and gel. Water-based stains dry fast (usually 2-4 hours) but can raise the wood grain slightly, so you'll need to sand between coats. Oil-based stains take longer to dry (8-12 hours) but they penetrate deeper and give richer color. Gel stains are thick and don't drip — perfect for vertical surfaces and if you're working on a Soviet-era dresser standing upright.
Pro tip: Always test your stain on scrap wood first. The same stain looks completely different on oak versus birch. Soviet furniture often used pine or beech — test on the same type if you can find it.
Oil Finishes: Simple But Limited
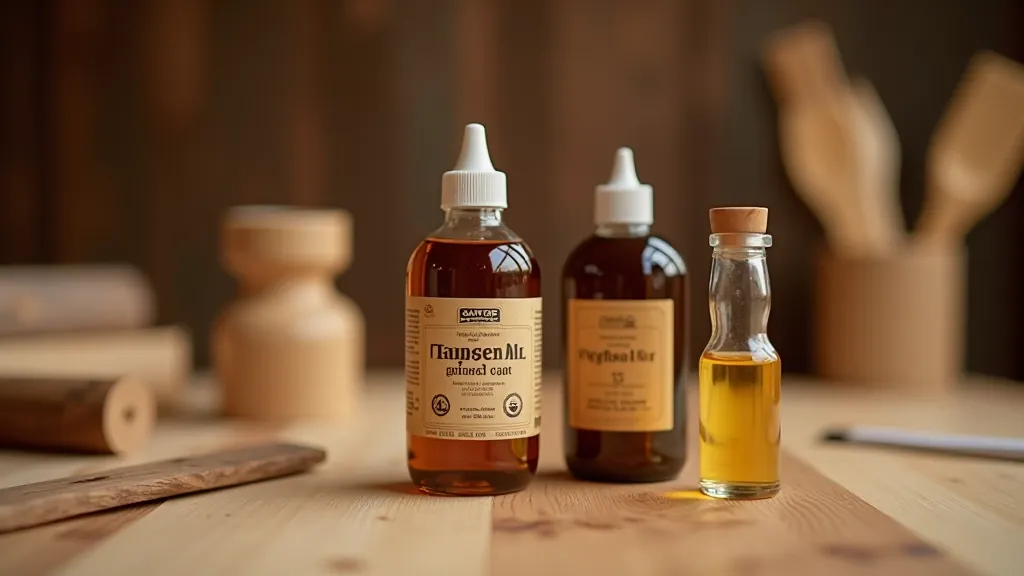
Oil finishes are straightforward. You apply them, they soak into the wood, and they dry. Danish oil is the most common — it's a blend of linseed oil, varnish, and solvents. Tung oil is similar but comes from a different tree. Both are easy to apply and give a nice natural look.
Here's the limitation: oils don't build a protective layer. They don't prevent water rings from a coffee cup, and they won't stand up to heavy use. They're perfect for decorative pieces, display furniture, or anything that gets light use. They're not ideal for dining tables or anything that gets spilled on regularly.
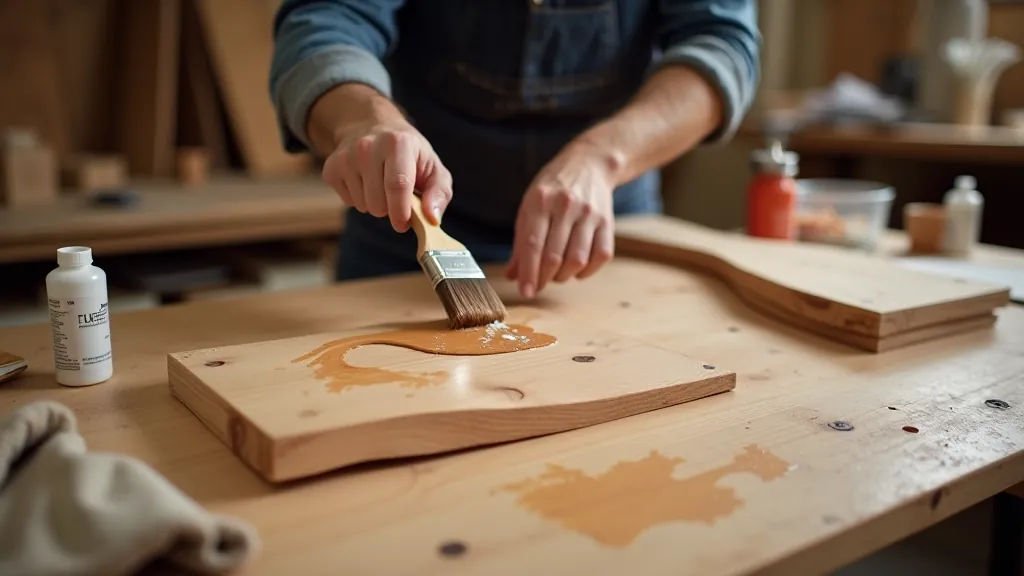
Application is simple — brush it on, let it soak for 10-15 minutes, wipe off the excess. Most oils need 3-4 thin coats rather than one thick coat. Drying time is typically 6-8 hours between coats, though some modern oil finishes are faster.
Polyurethane: The Workhorse Finish
Polyurethane is what most people should actually use. It's durable, affordable, and does what it promises — it protects wood. You've got two choices: water-based and oil-based.
Oil-Based Polyurethane
Richer color, tougher finish. Takes 4-8 hours to dry between coats. Stronger smell (you'll need ventilation). Yellows slightly over time, which can be good or bad depending on your wood.
Water-Based Polyurethane
Dries faster (2-4 hours). No yellow tint. Easier cleanup. Slightly less durable than oil-based, but still very tough. Lower VOCs if you care about air quality.
For furniture you actually use — tables, chairs, dressers — polyurethane is your best bet. You'll typically apply 3 coats for real durability. Sand lightly between coats with 220-grit paper to help adhesion.
The Right Order: Stain, Then Finish
The sequence matters. Get it wrong and you'll either have stain that washes off or finish that doesn't adhere properly.
Prepare the Wood
Sand to at least 150-grit. For staining, go to 180 or 220-grit. Any dust left on the surface will create rough spots under your finish. Vacuum, then wipe with a damp cloth.
Apply Stain (Optional)
If you want color, apply stain now. Brush it on evenly, let it sit 5-10 minutes, wipe off excess. Most stains need 1-2 coats. Let dry completely before moving to finish.
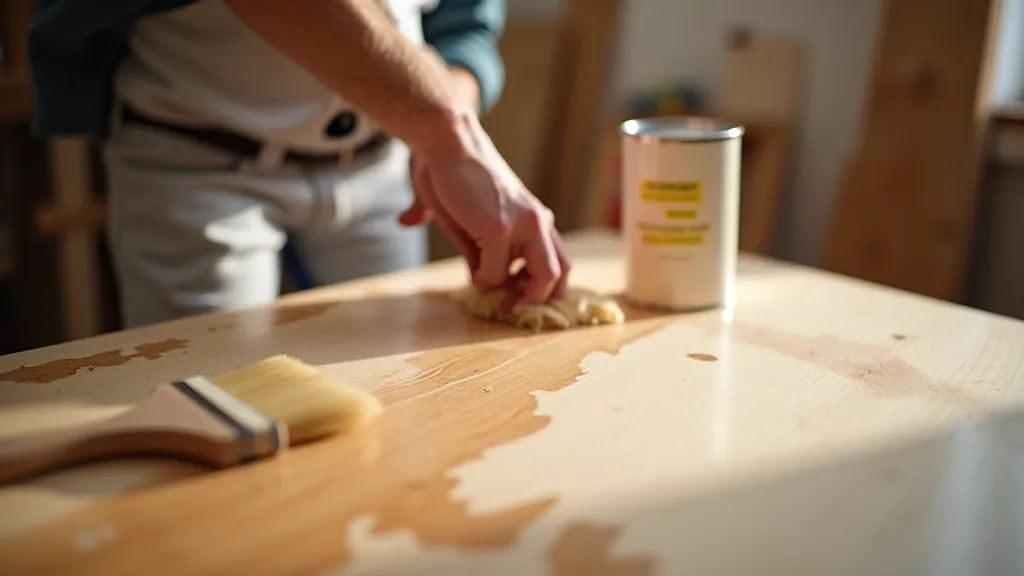
Apply Finish
Thin coats are better than thick ones. Brush with the grain. Let dry fully between coats. Sand lightly with 220-grit between coats to remove dust nibs and improve adhesion.
Final Coat & Cure
Apply your last coat and don't sand it. Let the piece cure fully — this takes longer than it dries to the touch. Most finishes need 24-48 hours before they're truly hardened.
Specialty Finishes for Specific Situations
Sometimes standard stains and polyurethane aren't the right choice. Soviet-era pieces sometimes need something different depending on their condition and intended use.
Lacquer gives a hard, glossy finish that's durable but requires spray application — not practical for most people without a spray gun. Wax finishes are beautiful but require maintenance and don't protect like polyurethane. Shellac is easy to apply but water-sensitive (coffee rings appear easily). There's also conversion varnish, which is extremely durable but contains harsh chemicals and really needs proper ventilation.
For most restoration work, you're fine sticking with oil-based or water-based polyurethane. They're forgiving, effective, and you don't need special equipment. Unless you're doing something very specific — like finishing a decorative piece that won't see use — polyurethane will serve you well.
Common Mistakes to Avoid
Thick Coats
Thick finish doesn't protect better — it just takes longer to dry and looks worse. Three thin coats beat one thick coat every time. Thin coats also dry more evenly.
Dust Particles
Dust settling on wet finish creates bumps. Apply finish in a clean environment, vacuum first, and wipe the surface with a damp cloth 15 minutes before applying finish.
Wrong Stain Type
Using water-based stain under oil-based polyurethane sometimes causes adhesion issues. Mix types carefully — water under water, oil under oil usually works best.
Rushing Drying Time
Heat lamps and fans seem helpful but can cause bubbling and uneven drying. Let it dry naturally. Yes, it takes longer, but the result is worth it.
Wrapping It Up
Finishing a restoration project isn't complicated if you understand what each product does. Stain adds color. Oil finishes protect lightly. Polyurethane provides real durability. Apply them properly — thin coats, patience, clean surfaces — and you'll have a piece that looks good and lasts years.
The best finish is the one that matches how you'll actually use the piece. A decorative chair in a living room? Oil finish is fine. A dining table that sees daily use? You need polyurethane. Think about function first, then choose accordingly. That's how restorations succeed.
Disclaimer
This article is informational and based on common woodworking practices. Finishing results depend on many factors including wood type, environmental conditions, application technique, and product quality. Always follow manufacturer instructions for specific products you're using. Ventilation and safety precautions are important when working with chemical finishes. Test products on scrap wood first. Results may vary based on individual circumstances.